Natural Skincare Routine | Oil Cleansing
Oh hey! In addition to travel and fashion, I am starting to incorporate more wellness and beauty-related tips into my blog. This is my first post related to skincare and is all about my natural, commercial-cleanser-free routine: oil cleansing.
Traveling nonstop last year made me the importance of wellness and self-care. Taking care of yourself whether you’re traveling or not is so so SO important. Self-care doesn’t have to be extremely time-consuming or expensive, especially if you happen to be lugging around large amounts of products while traveling.
Why I Started Using Natural Oils Instead of Commercial Skincare Products
About eight months into my trip, I started running out of my go-to face wash and moisturizer. I was in India at the time at my Yoga Teacher Training, and finding the right types of products for my skin was a bit of a hassle. In Rishikesh, where my training took place, there were lots of organic and natural food stores where we could buy Ayurvedic products. I tried not to buy too many new products and mostly just wanted to keep everything simple. So to do that, I invested in a big ol’ jar of organic coconut oil and a tiny bottle of golden jojoba oil and started using them to clean my face using the Oil Cleansing Method.
What is the Oil Cleansing Method?
The Oil Cleansing Method has been around for a while. I’ve actually tried it before when I wasn't traveling and it really worked well on my skin. Basically, you use clean, natural oils to clean out dirt, dead skin particles, and pollutants from your pores.
If you think about the way chemistry works, “like dissolves like.” Let’s put it this way: your skin is already full of natural oils. When you use commercial products and soaps to wash your face, it not only removes the dirt particles, but also the natural oils that help keep your skin soft and pH-balanced. That can lead to either over-drying your skin or can cause your pores to overproduce oil, making your skin even more acne-prone than before. I still talk to a lot of people who are afraid of trying the Oil Cleansing Method. They think that if they put more oil on their skin, that it will cause them breakout, which, thanks to modern-day marketing, we've been lead to believe. Think of all the products that you may have seen that have been advertised as "oil-free," therefore implying that oil is bad for your skin. In reality, it all comes down to your skin's pH balance, and removing all oils is likely doing more harm than good.
For me personally, putting spoonfuls of oil on my face has only been beneficial. I have been using this method consistently for seven months, and I've definitely had fewer breakouts than I did when I used soaps—even soaps with limited ingredients—to clean my skin. Depending your skin type, however, it can take time for your face to adjust, so breakouts, in the beginning, might be normal. But after a week or so, it’s like magic!
What Types of Oils Should You Use for Oil Cleansing?
Many people think that coconut oil, castor oil, jojoba oil, olive, or almond oil are best for the Oil Cleansing Method. I personally just use coconut oil, but I’ve heard that people like combining different oils as well. It’s really a matter of preference and budget. I also haven’t tried putting any of the other aforementioned oils on my face. Coconut oil just seems best to me as I also like the scent it leaves behind. Also, I kind of feel like olive oil would make my face feel like a salad ¯\_(ツ)_/¯
For a little extra moisture post-cleanse, I also apply a little cold-pressed golden jojoba oil. Typically, I apply a small amount after the washcloth step (you’ll see me do this at the end of my video).

Don't forget to watch my video on YouTube
How to Do the Oil Cleansing Method
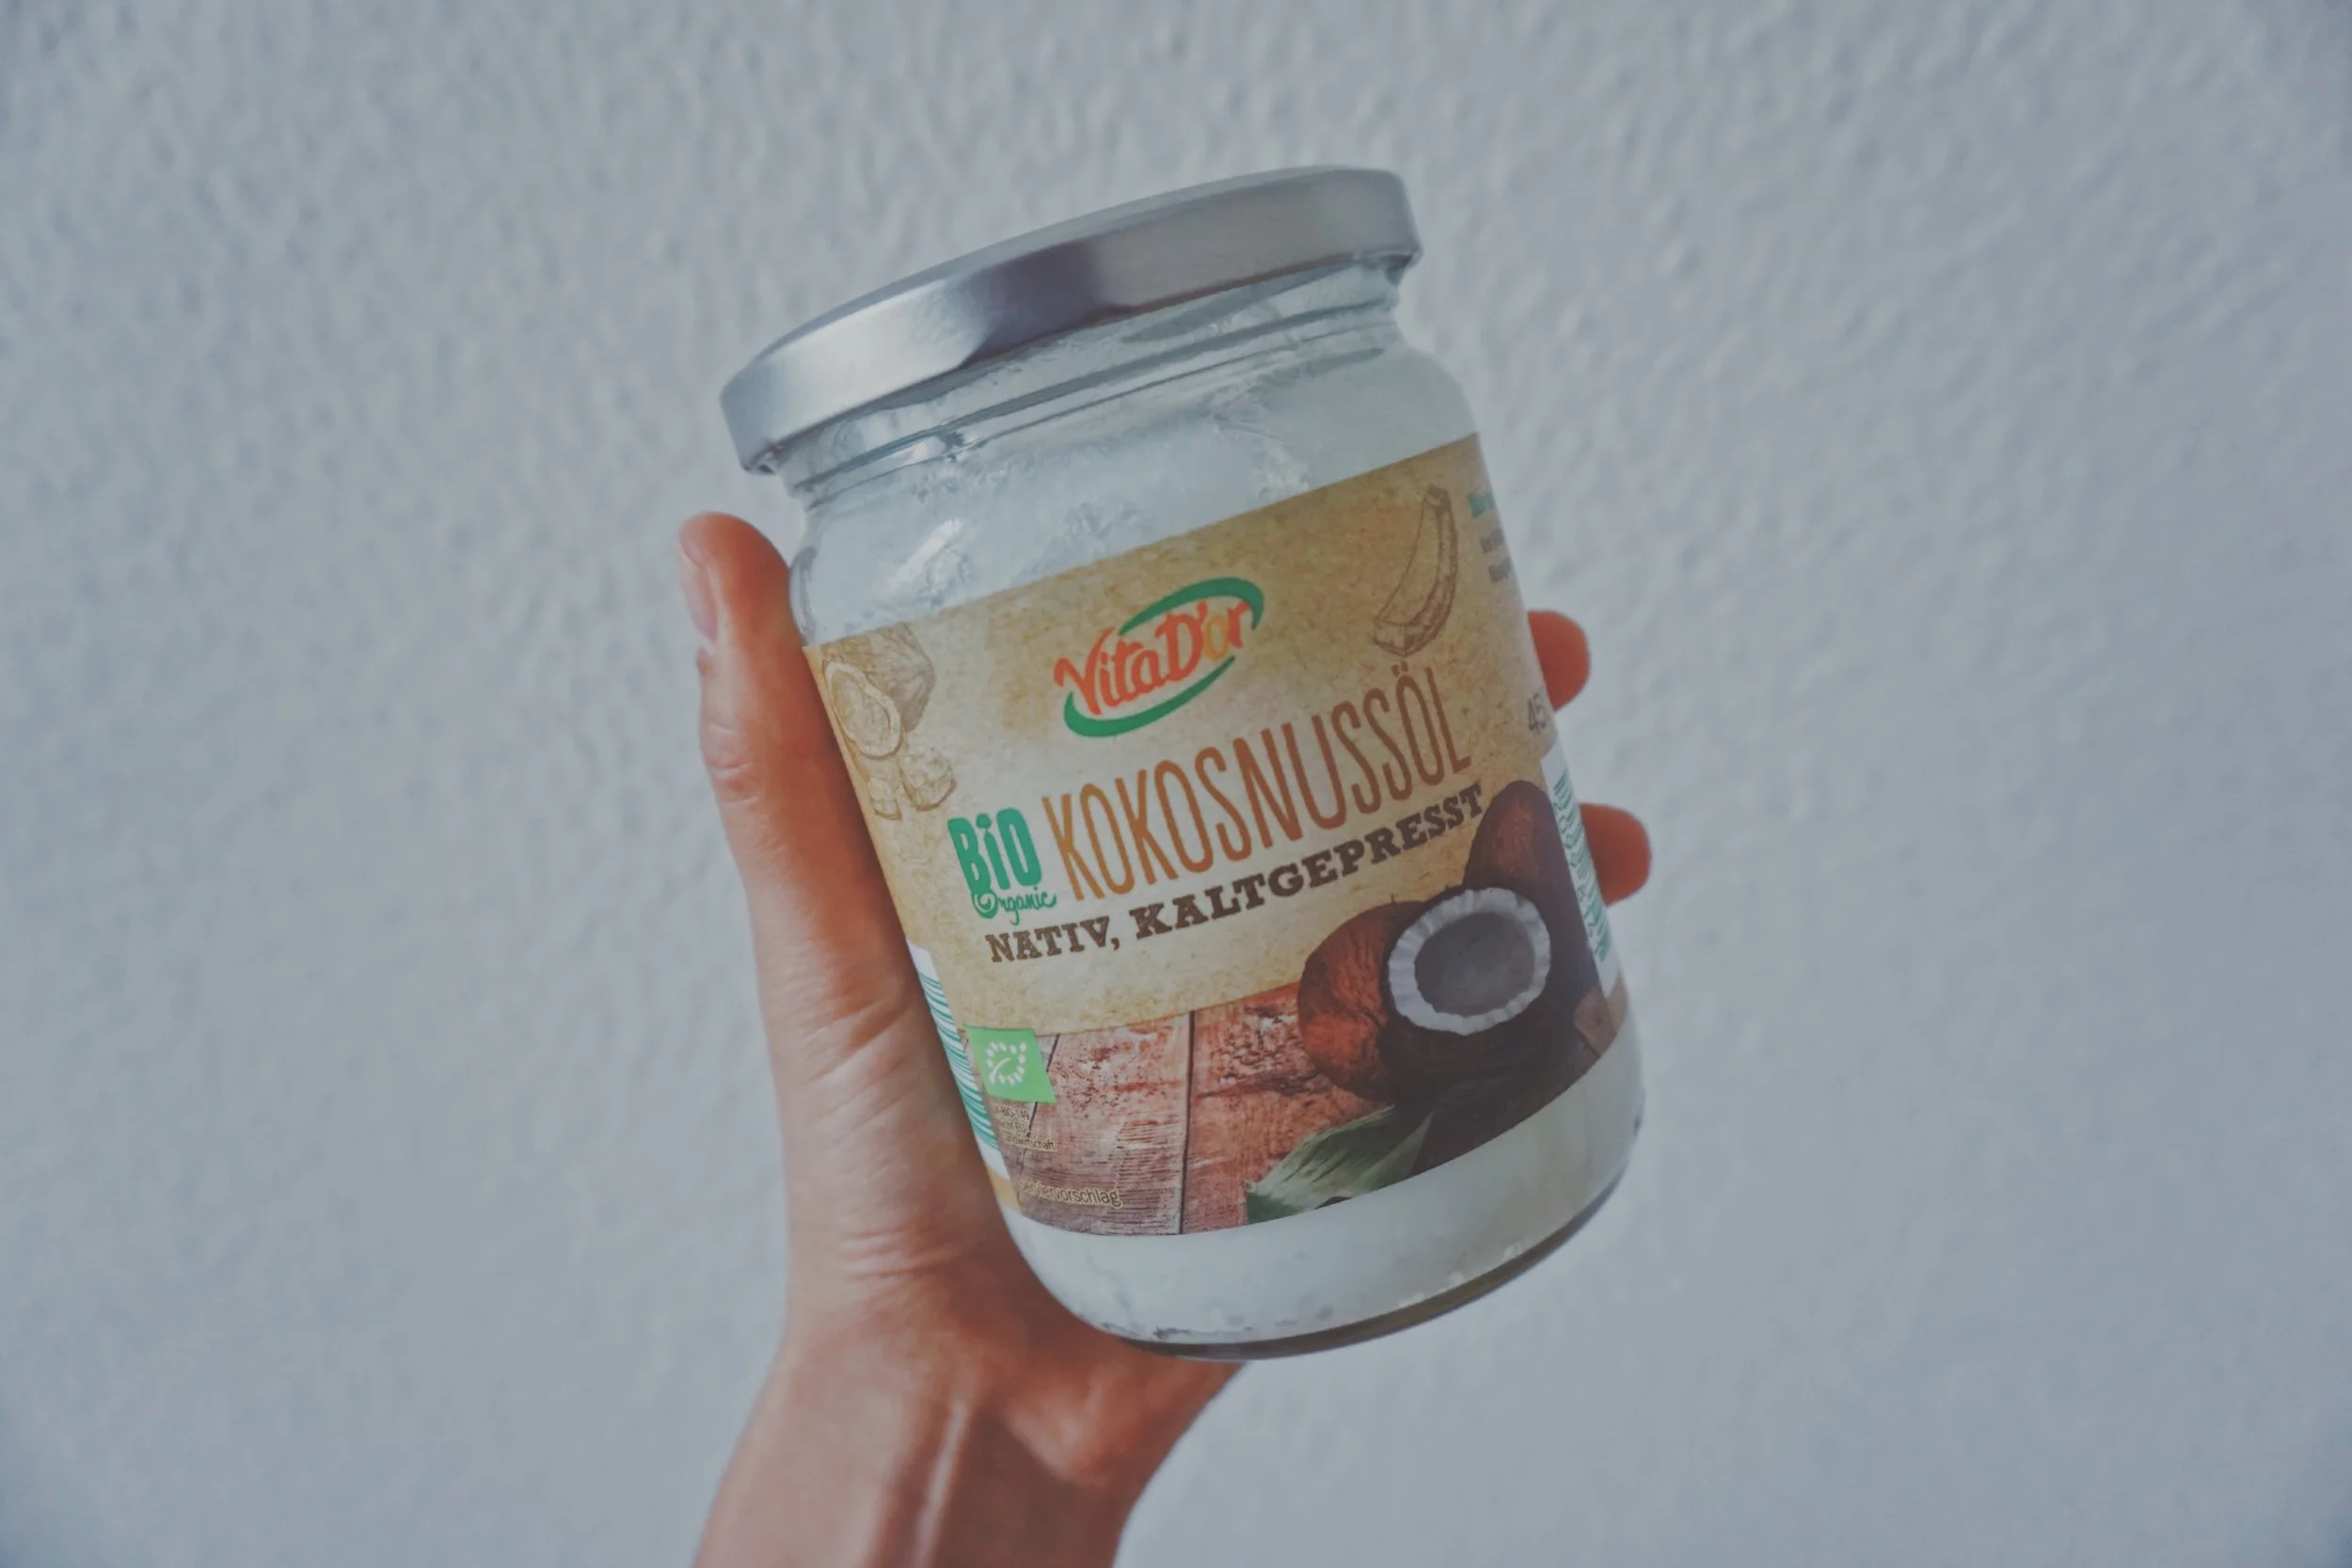
To start doing this, you’ll need to purchase an oil of choice. As I said, I think coconut oil is the nicest. Anything that’s cold-pressed and organic will work, too. Cold-pressed is said to be better because it’s processed at a lower temperature than refined coconut oils which are more used for cooking purposes. Plus, the jars that say “expeller-pressed” also implies that more of the coconut’s nutrients have been removed. So, I’d recommend the Nutiva organic brand or something similar. The one used in the video is just one that I found at a grocery store in Germany.
Now that you have your oil of choice, here are the steps for the cleansing process:
- Step 1: Put 1/2-1 teaspoon of coconut oil onto your face. You don’t have to remove makeup first, but you can if you want.
- Step 2: Make sure the oil is melted and evenly spread on your face.
- Step 3: Take a washcloth and run it under warm water for 10 seconds.
- Step 4: Squeeze out the washcloth.
- Step 5: Place the warm washcloth on your face for 30 seconds.
- Step 6: Gently wipe away the excess oil to reveal clean, makeup-free skin.
- Step 7 (Optional): Add another oil for extra moisture as the heat from the washcloth can sometimes be over-drying.
That’s it! I would recommend doing this as a nighttime skincare regimen. It gives your face more time to absorb the oils overnight, plus the warm washcloth part feels meditative and relaxing.
Have you ever tried using the Oil Cleansing Method before or thought about trying it? What kind of oil did you use? Comment below!
xx,
Steph
P.S. - This post contains affiliate links. I earn a small commission on products linked in this post which helps keep my blog running.